Frances Ng
Frances with an "e"
I-like-to-rig-it-rig-it
Blog.
rigging
blender
August 2022
Rigging is fun. Really fun. You can rig machines, rig a snake, rig a telephone line, rig a cable, and of course, you can rig a full 3d model. The mechanism of rigging a character (so that it offers some sort of controls for you to create action around them) is quite simple. "Bones" are controls where you can put constraints around, and pair with any vertices of a 3d model. The vertices will then correspond to the movement of the "controls". People separate Rigging + Skinning since technically speaking, you can create a rig without pairing it to any vertices. The rig refers to the control systems. And skinning is pairing the controls with corresponding vertices. But I treat them as the same activity because they're almost twin events.
Let's say to rig an arm. An arm with forearm + upperarm. Technically there are 3 pivots that should limit the movement of the bones so that they look realistic (enough): Shoulder Joint <- (Upperarm bone) -> Elbow Joint <- (Forearm bone) -> Wrist Joint. The upperarm bone span across bicep, tricep, all those "fleshes". The vertices' distance to the bone (relative) should be reflected in the influence of the bone movement on the deformation of certain vertices. Quoted from blender documentation, for automatic weights, "It calculates how much influence a particular bone would have on vertices based on the distance from those vertices to a particular bone (“bone heat” algorithm). This influence will be assigned as weights in the vertex groups." Doing this manually by weight painting is the more recommended way to avoid undesirable deformation, especially for the joints where automatic weighting can mess up A LOT. However, there are a million ways to rig. Armature deform is most fit for more complex models, which require body mechanics as constraints and lots of IK/FK controls. If to rig, eg. a laptop, using basic bone constraints will do the trick.
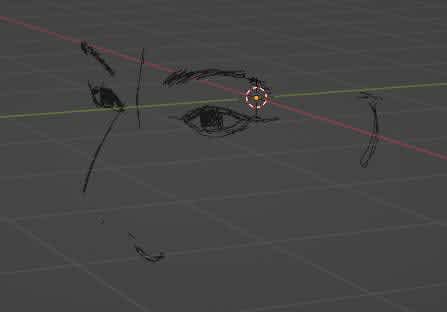
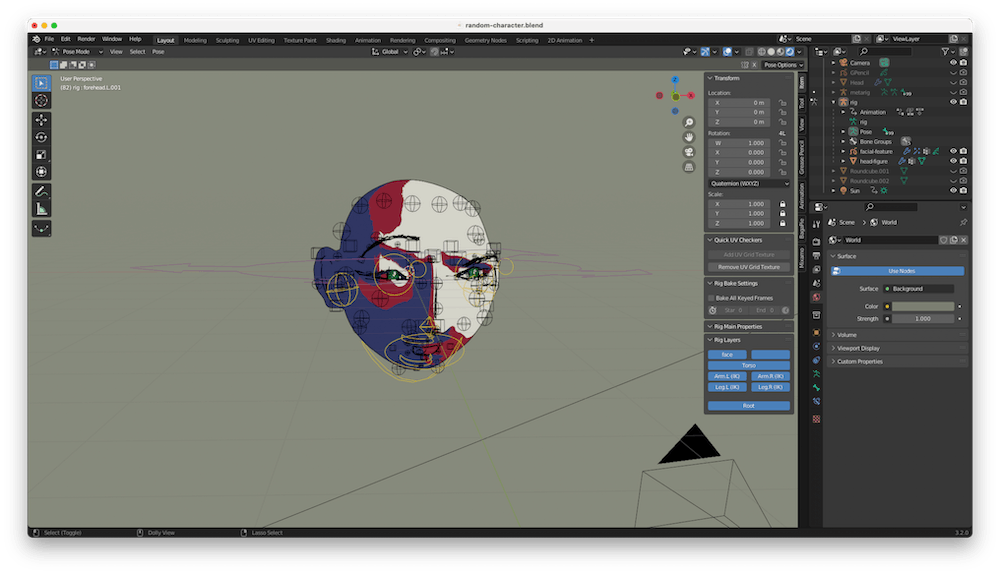
I don't know why but head-turn seems to be the go-to topic for demonstrating rigging. There's this grease pencil head-turn rig that I attempted few months ago but at that time I had no sculpting knowledge, newbie to gp so I went on doing 3d modelling first. Lately I've gotten into rigging more because the constraints/driver-based rigs are really mind-blowing, and suddenly had the urge to rig a Grease pencil+3d model.
The workflow was:
- Sculpting with reference to a sketch in GP (separated them in 3d space)
- Draw with new GP object on the surface of the head
- Align Rigify head sample bones to the model
- Apply armature deform on the head, and gp subsequently.
- Assign vertex groups
Actions/Non-linear Animation
Adding keyframes to animate is the usual way to go, but actually, there is a better way, or say more efficient way. In Blender, you can define actions, which are basically sets of keyframes. For example, you can define actions like "blink", and "wink", and by controlling the blending/extrapolation of the "action strips", you can mix animations together. It is mind-blowing, and extremely efficient. At this moment I feel like it's really similar as shape keys but instead of defining an ending state of a certain set of vertices, you can define the extrapolation journey from A to B. For Shape keys, blender will extrapolate how the vertices would go from A to B, eg. state A you have a vertex at X:0,Y:0,Z:0, and at state B, you will have it moved to X:5, Y:10 and Z:100. For actions, you are telling blender exactly the sequences, for example, a walk cycle. For animating the head in this case, actually doing keyframe will do the job and maybe even more flexible, but it was fun to try out blending. Still not 100% sure but good practice anyways.
The head needs some hair.
Latest


